4 min read • U-Learn Univeristy

Pre-Trip Inspection

13 Easy Steps for Your Pre-Trip Safety Inspection

At Utility Trailer Sales of Utah, our commitment to safety is a continuing effort. Performing a pre-trip inspection is essential in keeping your tractor and trailer in top condition for your own safety and for the safety of others around you. Our quick step-by-step guide that will take you through the entire pre-trip inspection process to ensure you have everything you need to feel safe and ready to hit the road.


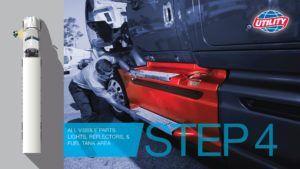
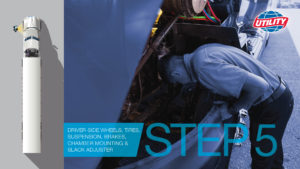
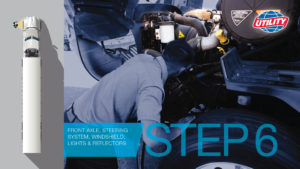
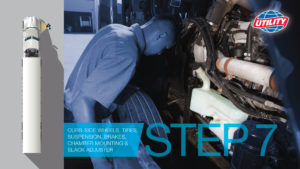
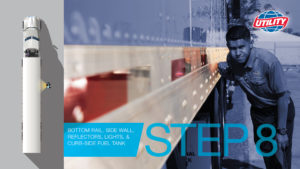
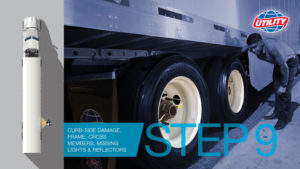
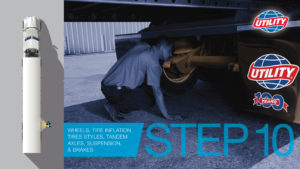
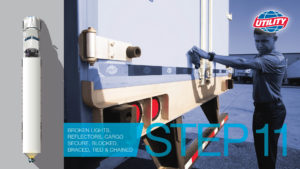
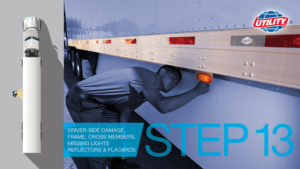
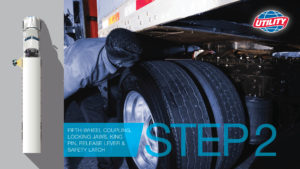
Begin in the driver’s side and work clock-wise around your rig, checking for anything out-of-the-ordinary.


Step 1: Inspect Driver Side of Trailer

  • img class=”alignnone size-full wp-image-1544″ src=”https://mwutility.com/wp-content/uploads/2024/07/Inspect-Driver-Side-of-Trailer-300×169-1.jpg” alt=”” width=”300″ height=”169″ />
  • Starting from the front of your trailer, inspect the driver side
  • See if the front trailer support is fully raised and undamaged
  • Verify crank handles is present and secured
  • Check for missing or broken lights and reflectors
  • Inspect for frame and body damage
  • Check to make sure you have the proper placarding in place.

Step 2: Inspect Fifth Wheel Coupling System

<

  • Make sure the fifth wheel coupling system has no visible space between the upper and lower fifth wheel
  • Make sure the locking jaws are around the shank and not the head of the king pin
  • Then, ensure that the release lever is properly seated and the safety latch is locked and engaged

Step 3: Inspect Air & Electrical Connections

  • At the area between the trailer and tractor, inspect all air and electrical connections
  • Check glad hands for proper mounting
  • Verify that there is no damage and no leaking
  • Inspect all lights and reflectors

Step 4: Check Tractor’s Visible Parts

  • Check the condition of all visible parts on your tractor and the driver side saddle side, fuel tank area

Step 5: Check Wheels & Tires

  • Check the condition of your tractor’s wheels, tires, suspension, front brakes (including, brake drums, hoses, air chamber mounting and slack adjusters

Step 6: Check Front Cab

  • Move to front cab
  • Check the front axle, steering system, and the condition of the windshield, lights and reflectors

Step 7: Check Curbside

  • Move clockwise from the driver’s side
  • Repeat the same check you did on the driver’s side on the curbside
  • Inspect wheels, tires, suspension, front brakes, brake drum, hoses, chamber mounting and slack adjusters

Step 8: Inspect Curb-side Saddle Tank Area

  • Move to the curb-side saddle tank area
  • Inspect all visible parts
  • Check bottom rail, side wall, reflectors, lights and curb-side fuel tank

Step 9: Check Rear of Tractor and Trailer

  • Look for a bent or damaged frame or damage to cross members
  • Check for missing lights or reflectors

Step 10: Inspect Curb-side Trailer’s Wheels

  • Stop at the curb-side rear trailer wheels
  • Inspect wheels and tires
  • Verify the tires are the same type
  • Check tandem axles, suspension and brakes

Step 11: Inspect Rear of Trailer

  • Move to the rear of the trailer
  • Check for broken lights and reflectors
  • Verify cargo is properly secured, locked, braced, tied, chained, and/or doors locked

Step 12: Check Driver-side Trailer’s Wheels

  • Keep moving along the trailer to inspect the driver’s side rear wheels and tires
  • Check inflation
  • Verify the type of wheel are the same
  • Check tandem axles, suspension, and brakes

Step 13: Finish Inspection

  • Keep moving towards the front of the trailer
  • Check for missing or broken lights and reflectors
  • Look for frame and body damage
  • Check for proper placarding

*Refer to your company’s safety procedures and policies for complete compliance

*If anything is broken or damaged notify your service department and/or get it fixed immediately.


Following these 13 easy steps will confirm your trip is safe and comfortable.

Search 1580 Utility

Found result/s

Close

You’re in the right place!

are now part of

We’re excited to share that these locations are now a part of Mountain West Utility Trailer. With 8 locations across Utah, Nevada, Arizona, Idaho, and Washington, you’ll continue to receive the same trusted service and support you’re used to — with the added benefit of expanded locations, greater resources, and a continued commitment to keeping you on the road. Thank you for being part of the journey. We’re glad you’re here!